- Your #1 Source for Network Cables. Call Now for Exclusive Offers!

Terminating Cat6 cables is an essential skill for network professionals and DIY enthusiasts alike. This guide provides a step-by-step process to help you terminate Cat6 cables with precision and ease.
Using a wire cutter, cut the Cat6 cable to the desired length, leaving some extra for adjustments.
Carefully strip about 1 inch of the outer insulation without damaging the inner wires.
Untwist the pairs and arrange them in the T568B or T568A color code order, depending on your preference.
Trim the wires to approximately 0.5 inches from the insulation to ensure a proper fit into the RJ45 connector.
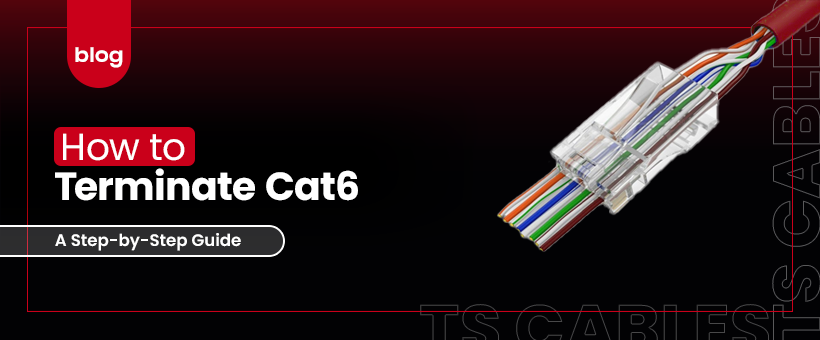
Carefully insert the wires into the RJ45 connector, making sure they remain in the correct order.
Using a crimping tool, crimp the RJ45 connector onto the Cat6 cable. Apply enough pressure to secure the connector but avoid over-crimping.
Use a cable tester to verify that the termination is correct and that the cable is functioning properly.
Terminating Cat6 cables is a straightforward process that requires attention to detail and the right tools. By following these steps, you can create reliable and high-performing Cat6 connections for your network.
Visit TSCables for a wide selection of Cat6 cables, connectors, tools, and more. Our products are designed to meet the highest standards of quality, ensuring that your network performs at its best. Explore our collection today!
Copyright © 2024 TS Cables – All Rights Reserved
