- FREE 2 day shipping to all U.S. Mainland

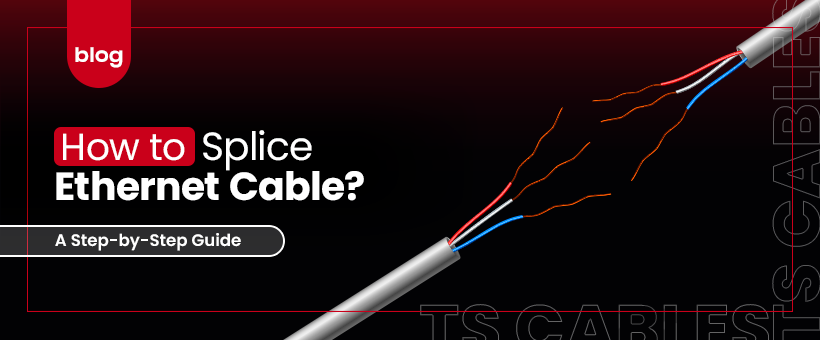
Splicing an Ethernet cable, such as Cat5e, Cat6, or Cat6A, is a handy skill when you need to extend a cable or repair a broken connection. Here’s a step-by-step guide to help you splice Ethernet cables like a pro.
Cut both Ethernet cables to the desired length and strip about 1 inch of the outer insulation to expose the inner wires.
Untwist the inner wires of both cables, being careful to keep the color pairs together.
Align the wires of both cables according to the T568B or T568A standard, ensuring that the color order matches.
If using RJ45 connectors and a splice connector, use the crimping tool to secure the connection.
Use a cable tester to verify that the connections are correct and that data can flow between the two spliced cables.
Splicing Ethernet cables is a practical solution for extending or repairing cables. By following these steps, you can successfully splice Cat5e, Cat6, or Cat6A cables to meet your specific networking needs.
Visit TSCables for a wide selection of Ethernet cables, connectors, and tools. Whether you need cables for home or business use, we have the products to meet your requirements. Explore our collection today!
Copyright © 2024 TS Cables – All Rights Reserved